

“Science is fun. Science is curiosity. We all have natural curiosity. Science is a process of investigating. It’s posing questions and coming up with a method. It’s delving in.” – Sally Ride
(Disclaimer: This post is not sponsored. I am not a scientist, just a homeschool mom sharing the love.)
Every Friday I try my best to do an experiment with my daughter. Because of this, I managed to acquire quite the collection of Science Experiment kits. Today I am going to focus on one from the following:
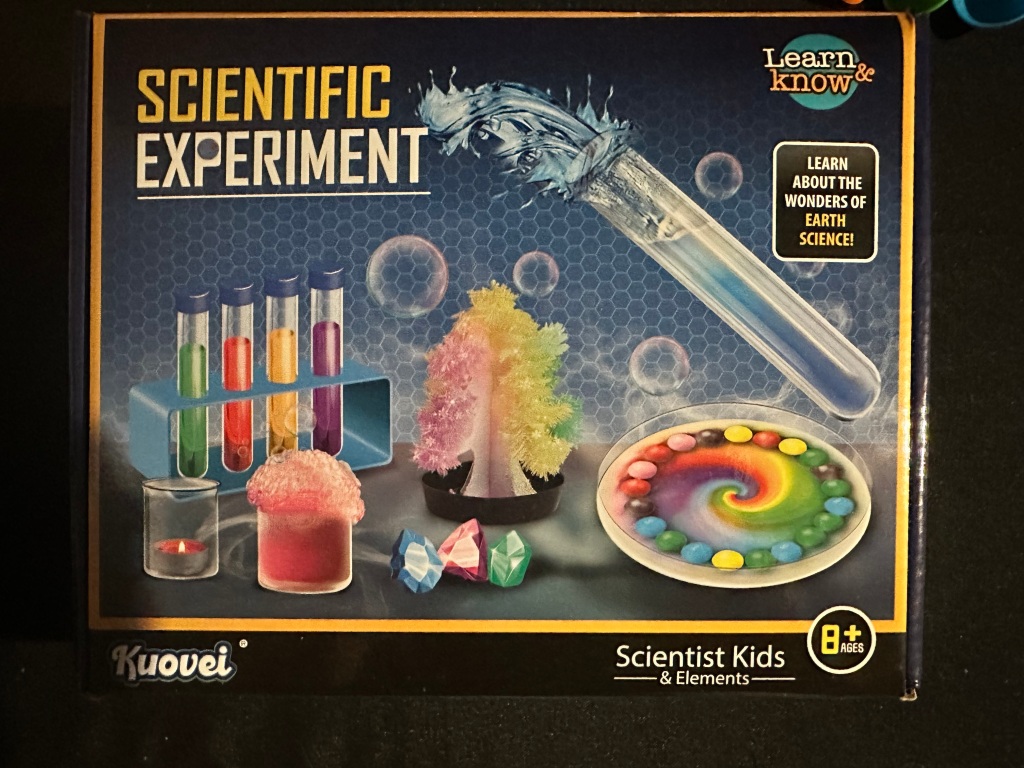
In the kit, the title of the experiment is called The Volcano Experiment but for the sake of this post and a future experiment post we will have, we will stick with the title of “Test Tube Volcano” and you’ll understand why by the end.
Supplies
Let’s start with supplies (and that includes safety). The kit comes with almost everything you will need with the exception of things that you most likely have at home. That said, everything in today’s experiment should be completely accessible at home.
You will need:
- Goggles
- Apron/ Lab Coat
- Test Tube (Large)/ Clear Cup
- Baking Soda
- Food coloring (not needed but definitely enhances the experience)
- Vinegar

The Experiment
My suggestion is to do this outside. It is definitely doable inside but the mess is much easier to clean when it’s not on your kitchen table.
Once you establish a location for your experiment, set up your test tube or cup and fill with 1 teaspoon (5 mls) of baking soda and food coloring (we used red to mimic lava but it is cool with any color). I explained to my daughter that the baking soda is considered the base because we are using it for the reaction.


Next, pour your vinegar into the cup that has baking soda. While pouring, I described how the acid in the vinegar was mixing with baking soda causing a chemical reaction. Making it go KABOOM! The process should look like this:
And voila!!! You have created a test tube volcano  !
!
Much more to come,
Shay
LIKE, SUBSCRIBE, and SHARE!
Follow my socials

Leave a comment