

A delectable craft…

Hello my pretties,
We are finally in the first few days of October. The countdown to Halloween has begun, and the weather is somewhat cooler… at least in the mornings. When I say cooler, it’s 70 degrees until 8 a.m. and then it’s 90+ degrees for the rest of the day. What can I say? I am from Texas, it’s hot here. So to make it feel more like fall, I decided to make caramel apples… or as my daughter put it, “Witches Caramel Apples.” And that’s more fun sounding, so we are gonna go with the whims of an imaginative child.
The nice thing about making these apples is that it’s more of an edible craft than it is a real recipe. There are so many options. You can pre-cut the apples and serve with a caramel drizzle and toppings of your choice. Or you can make ‘traditional’ caramel apples that we are going to go over today. My point is… be creative. This is about having fun.
Supplies:
- 6 apples (any kind, but let’s be honest my dear readers… bigger is better 🍎)
- Caramel sauce (recipe at the bottom 📖)
- Toppings 🍒 of your choice
- I used: chopped Heath, Oreos, peanuts, mini chocolate chips, M&M’s, Halloween sprinkles, and my personal favorite, butterscotch chips
- Wax paper lined cookie sheet
Step 1: Clean your apple
I thought, naively, that this was going to be an easy project. But when you buy apples from the store, they have a food-grade wax on them. That needs to go. The hot caramel and wax is just not a happy combination. Fortunately, my husband came across a really good recipe that I followed, with my own Shannon flair. AKA I eyeballed the ingredients, but if you like structure, follow the actual recipe here.
Supplies:
- Large pot or bowl with lid
- Water
- Apples
- Scrub brush
- Baking soda
Instructions
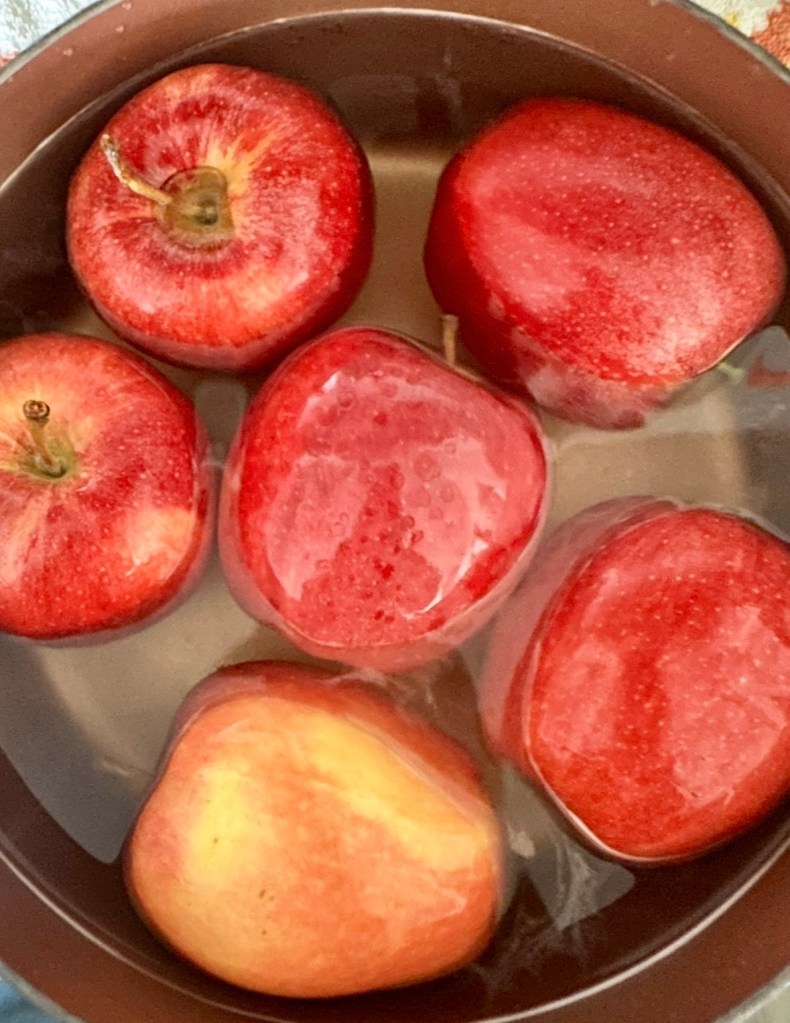
- Start with a big bowl or pot and put the 6 apples you want to clean inside.
- Fill the pot with hot water from the sink. The apples should begin to bob. It doesn’t need to be boiling, but it needs to be warm enough to loosen the wax. You don’t want to cook the apples.
- Then put about a fourth of a cup of baking soda and mix.
- I let mine sit for about 20 minutes. I placed the lid on top upside down to make sure the apples were fully submerged in the water.
- Once done, scrub the wax residue from the apple. It’s gonna be hard to get it all off. Just do the best you can. Dry completely.
Step 2: Prepare the caramel
There are so many different recipes out there on the world wide web and beyond. This is just the one that I have found works best for me because it’s two of my favorite things. Easy and quick… Anyway, like the last recipe, I made this one my own, but if you want more exact ingredients or just want more tips, follow her recipe here. This is only the recipe for the caramel sauce, not for the apples themselves… that’s not till later.
Caramel Recipe
Ingredients:
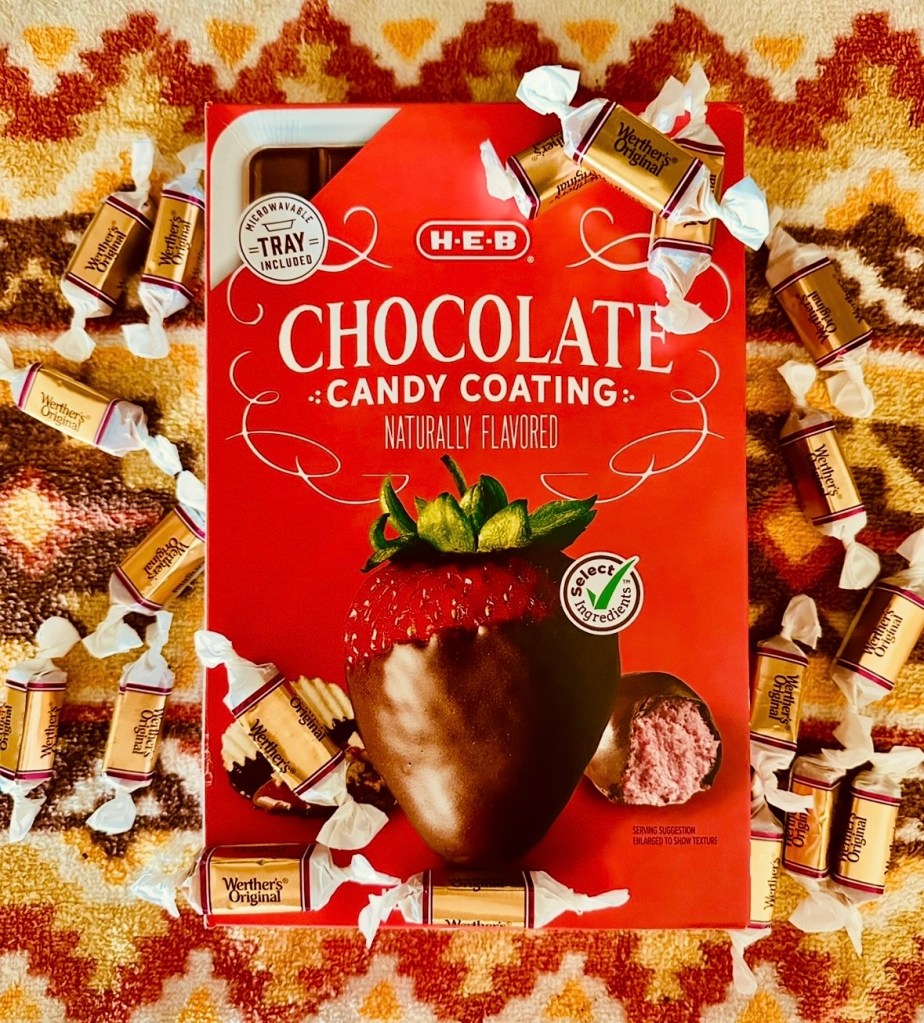
- Werther’s Caramel Chews (2x 7 oz bags)
- 1/4 cup of heavy whipping cream
Recipe:
- Place all of your unwrapped soft caramel chews and the heavy whipping cream inside your favorite cauldron and bring to a medium-high heat. As it begins to melt, begin mixing until the consistency is smooth but thick. Think molasses consistency.
- Once all ingredients are smoothed together, lower the heat, but you can keep it on as long as you stir often. If it’s bubbling, it is way too hot.
- Use while warm.
Step 3: Caramelize the apples
Okay, don’t actually caramelize them… but cover them in caramel. This is where the fun begins! Once you have all your ingredients set up, including what you will be decorating with, begin to place the sticks into the tops of the apples, right where the stem is. Place those apples on top of a wax paper lined cookie sheet.
This is the part that gets a bit tricky. Dipping your apples into the caramel, you need to make sure you get all of the excess off by twirling it around until it’s evenly coated and scrape off the remaining. Once done, place on the wax paper and coat the other ones. You kind of have to work quick, because once the caramel cools too much, the toppings become hard to put on. If you put the toppings on too soon, they will begin to leak off. It’s a balancing act.
Step 4: Decorate

Now the part the kids have been whining all day for… Caramel Apple Decoration Party! While the caramel apples are still somewhat warm (even slightly drippy), begin decorating with your favorite treats. Pretty much anything goes! But remember, work quick. It’s easier to dip the apple directly into the toppings.
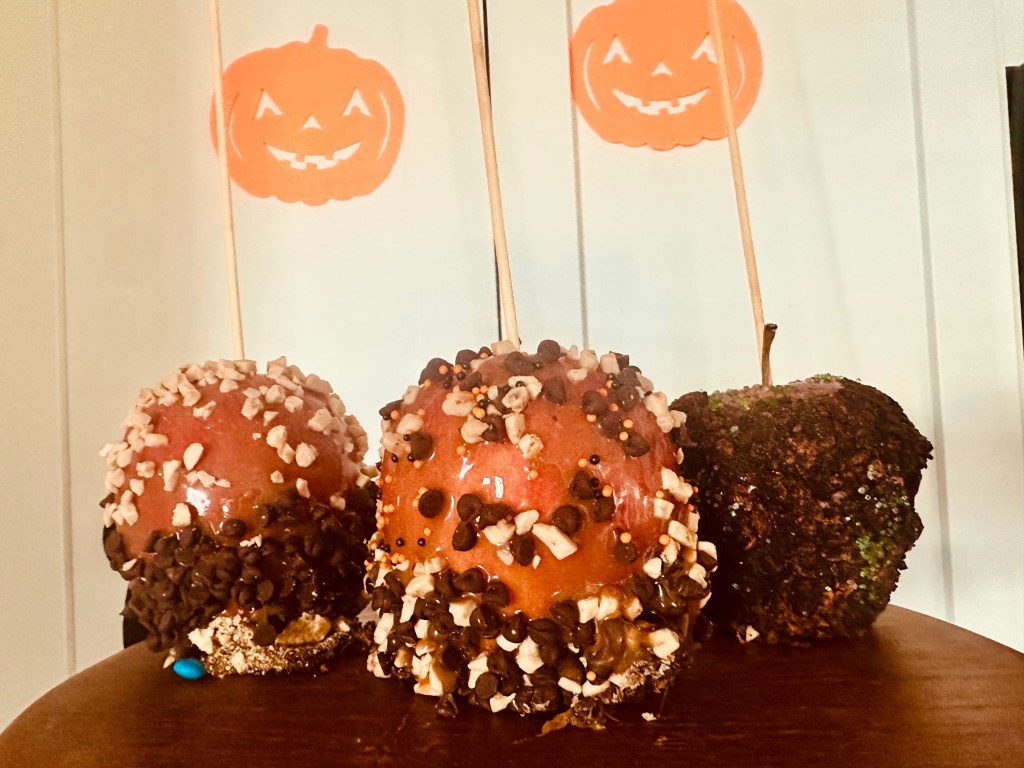


Pro-tip: If the caramel on the apple does begin to cool too much, you can press the topping into it.
Topping Ideas:
Nuts
Cookies
Sprinkles
Butterscotch chips
Chocolate chips
Heath
Chocolate drizzle
Extra caramel drizzle
Pretzels
The list is as endless as your imagination!
Happy Spooky Month,
Shay
What fall foods and crafts inspire you? Leave a comment below!
Follow my socials

Leave a comment